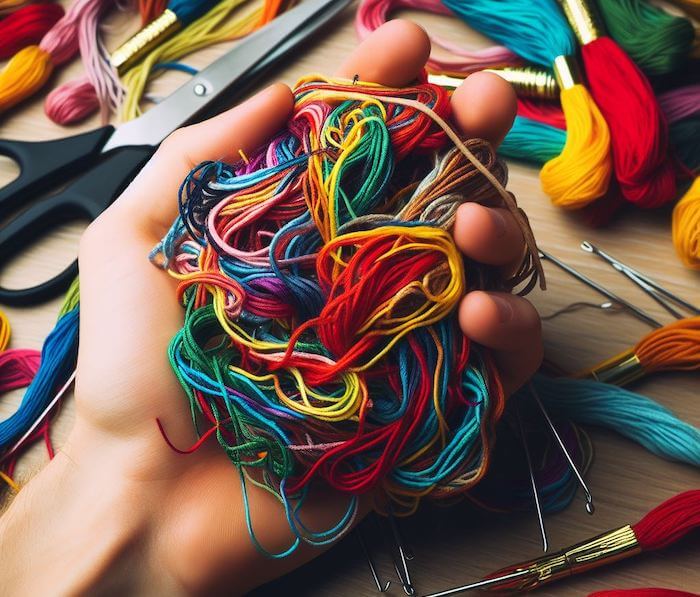
Nothing kills stitching flow like tangled floss. You start a neat line of satin stitch or cross-stitch, and suddenly the thread knots, twists, and frays. The issue usually isn’t your fabric or needle—it’s how the floss is prepared and managed while you stitch.
Embroidery floss is a softly twisted, multi-strand thread. If you pull it too long, separate strands unevenly, or add excess twist while stitching, it’s more likely to snarl. With a few small changes to prep and technique, you can keep your floss smooth, cooperative, and knot-free.
Why Embroidery Floss TanglesFloss is typically six loosely twisted strands. As you stitch, the thread can pick up extra twist (from the way you turn the needle and your hand motion). Long lengths amplify friction and twist; unevenly separated strands create micro-loops; a too-small needle eye scrapes the thread. Together, these cause kinks, bird’s nests, and sudden knots.
This article explains simple, practical steps—how to cut, strip, condition, and handle floss—so your stitches lie flat and your thread stays smooth from first stitch to final knot.

Key Takeaways
1. Use shorter lengths (18–24 in / 45–60 cm).
Shorter cuts reduce friction, twist build-up, and fuzzing. Re-thread more often for smoother stitching.
2. Separate and recombine strands evenly.
“Strip” one strand at a time from the bundle, then recombine the number you need (e.g., 2 of 6). This prevents hidden loops that cause snags.
3. Let your needle dangle to remove twist.
Every few stitches, pause and let the needle hang so the thread untwists naturally. This resets tension and stops corkscrewing.
4. Match needle size to thread count.
Use a needle with an eye large enough for your chosen strand count. An undersized eye abrades floss and encourages knots.
5. Lightly condition the thread (optional).
A small amount of thread conditioner or wax can reduce friction and fray. Use sparingly to avoid residue on fabric.
6. Start and finish cleanly—avoid bulky knots.
Use loop starts (when using an even number of strands) or small, tidy anchor stitches. Trim tails short so they don’t catch on the back.
7. Keep consistent stitch direction and tension.
Even tension and consistent needle rotation minimize extra twist. Don’t yank—guide the thread smoothly through the fabric.
8. Store and feed floss to prevent kinks.
Wind skeins on bobbins or cards; pull from the manufacturer’s designated end to avoid snarls. Keep project strands in separate bags or organizers.
