Lamination is a simple way to protect important documents and photos, giving them a sturdy, professional finish.While a laminator is the most reliable option, the machines can be expensive—and most people don’t laminate often enough to justify the cost.
Key Takeaways
DIY Lamination: Affordable, Durable Protection
You don’t need a laminator—simple at-home methods can keep documents and photos safe for less.
Synthetic Paper: Strong and Hassle-Free
This tear-, water-, and chemical-resistant paper prints smoothly and eliminates the need for bulky lamination.
Packing Tape: A Quick Fix
For small jobs, clear packing tape works as a cheap, easy alternative to a laminator.
Also, watch this video on how laminating with clear packing tape can be a time saver!
The good news: there are plenty of easy, low-cost alternatives. In this article, we’ll share practical methods—from synthetic paper to packing tape—that keep your documents safe without the need for special equipment.
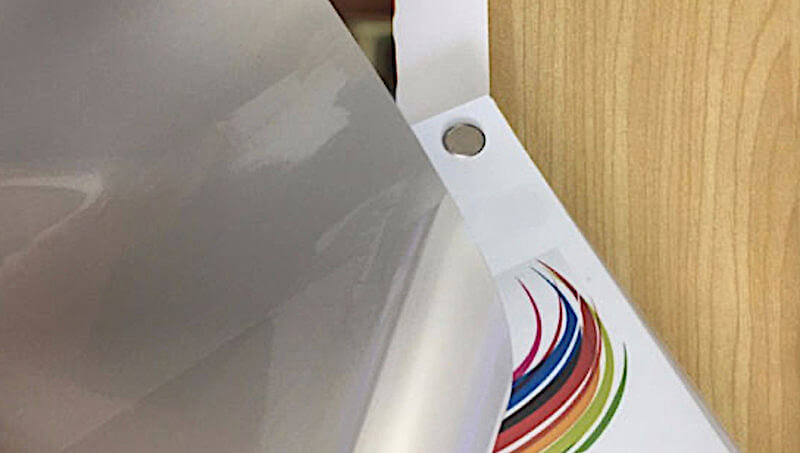
Laminate With Synthetic Laminating Papers
Synthetic papers are made of different types of plastic, but they look and feel similar to a regular piece of paper. They provide sturdy sides and a convenient method for creating durable labels.
It is waterproof paper inside. Once you cover your documents in the synthetic sheet, you won’t need to use a lamination pouch and paper anymore, safeguarding both sides of your document against elements.
All of your documents will be stiff. You can be sure they will not tear or rip apart, even at the edges.
These papers come in various sizes. You’ll find one that fits your documents, and you will be able to work them through a laser printer too. This means that you can print your labels directly onto the durable material.
All you have to do is place it the right way. Be sure to remove all the air bubbles between the document and synthetic paper, ensuring the sides are smooth and perfectly laminated.
Place the document and the paper on your table. Be careful of the position, because you will need to iron through the whole thing, paying special attention to the edges to prevent them lifting.
I would recommend you to heat the iron to the maximum temperature because the process will be faster, and you will get results instantly. The heat helps to seal the sides and ensure that any labels embedded in the document stay put.
You can put the clear contact paper over the synthetic to make sure the process will go smoothly, and you can be confident the iron will give you the same effect as the lamination machine, especially around the edges and labels.
This is something all of us can do with the things we have at home, so if you are looking for a quick way to laminate without a laminator as soon as you can, you should get some synthetic paper. It’s a cost-effective way to protect all sides of your document and to create water-resistant labels.
Laminate With A Laminating Pouch
Since everyone on the market is aware that people are not willing to spend money on laminating machines, they have come up with a special laminating pouch. These pouches protect all sides of your documents, including any labels.
There are different types of laminating pouches in different shapes and sizes. And they don’t require any device or laminating machine to provide the desired results. Just think – no more struggling with misaligned sides or peeling labels!They are self-sealing pouches tailor-made for preserving your valuable pieces. So once you put your photo or document in that plastic wrap, all you need to do is seal it. The backing on these pouches makes the process simpler, ensuring no wrinkles on your laminated item.
Save yourself from buying a laminator and learn how to do it manually using laminating sheets! These tools not only save you money, but give you the satisfaction of having accomplished the task yourself.
It is a very inexpensive alternative to a real laminating machine. People seem to be using it for every sort of document, from proofs of identity to important letters, so you should check out this technique.
It is also the easiest way to laminate paper for a few dollars, and you can find it anywhere, so if you know you will need to laminate something, it is best to purchase several of these and keep them at home.
Clear packing tape is a popular way to laminate different things, from driver’s licenses to bookmarks, and since it can be found in pretty much every bookstore, it is the most practical way to laminate something.
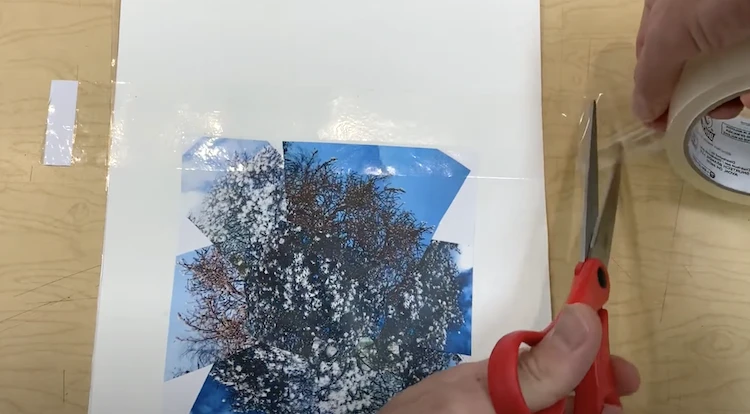
Laminate With Clear Packing Tape
It will take you some time until you put the tape the right way, but there are several recommendations and customized youtube videos that provides you with the right tools and techniques to handle the whole process efficiently and quickly.
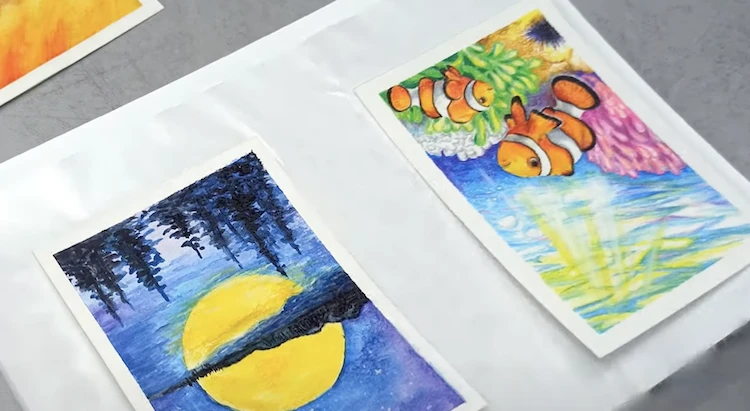
Crafters often resort to using packing tape to protect the surface of their artwork. Layers of packing tape can be used as a clear film to protect artwork, business cards and other projects.
There are different types of clear tapes, and if you learn how to handle the whole process, you will get the same results as with any expensive laminating machine.
Clear packing tape is also the easiest way to laminate personalized content and ads, so you will be able to use it for pretty much every kind of lamination project.
As you can see, there are plenty of lamination techniques and tools you can use, even if you are not willing to invest in a laminating machine.
All of these can be done at your home, and you will need just a few dollars to find all the needed products, and you can usually get them at your local bookstore.
Lamination is very useful, and I would recommend you protect all of your important documents and photos, especially those you are carrying around every day, so try out some of these techniques and protect your valuable belongings.
Watch this video: How To Laminate With Packing Tape [04 mins 29 secs]
Conclusion
The purpose of this article is not to guide people away from purchasing a laminator. In fact, a laminator will get the job done more professionally, which is important if you have a product you want to protect while also making it presentable. There is nothing uglier than a badly laminated piece that contains bubbles and creases.
However, if lamination is something you do not do often, it wouldn’t be worth purchasing a machine. This is where this article comes in handy and provides two quick and simply ways to get the job done using the right tools!
It is ultimately a balance between protection and presentation that determines the method you go for. So, arm yourself with the right tools, techniques and backing materials, and say goodbye to wrinkles in your laminated pieces.