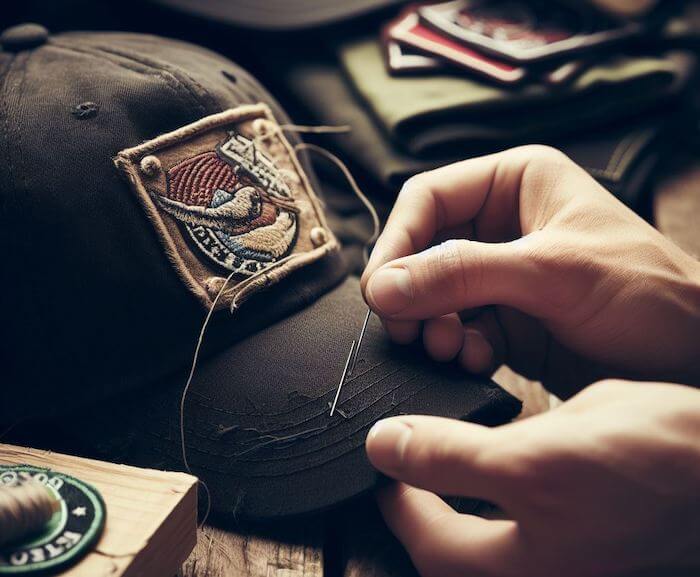
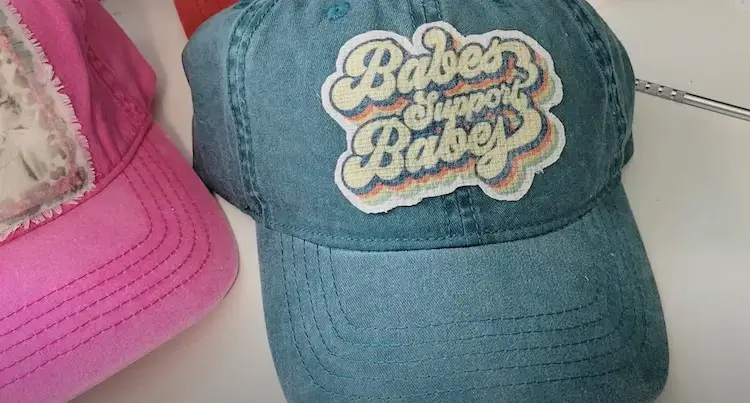
Do you have a beloved hat with a pesky hole or just want to add a dash of personality to your headwear collection? You can effortlessly breathe new life into your favorite hat by skilfully sewing on an embroidered patch.
Whether you prefer the hands-on approach of manual sewing or the precision of an embroidery machine, we’ve got you covered.
In this comprehensive guide, we’ll walk you through the art of patching up your hat and infusing it with your unique style. All it takes are a few basic supplies you likely already have at home:
- A trusty needle.
- Optionally a thimble for added comfort.
- Sturdy thread.
- Fabric for your patch.
By following these step-by-step instructions, you’ll achieve a professional finish that will make your hat look as good as new and showcase your personal flair.”
Quick Summary
Using a Sewing Machine: Step-by-Step Guide to Patching a Hat
Looking to add personality to your hat? Why not sew a patch onto it using a sewing machine? In fact, approximately 50% of people use a sewing machine to sew patches onto hats.
Here’s a step-by-step guide:
1. Choose the perfect patch
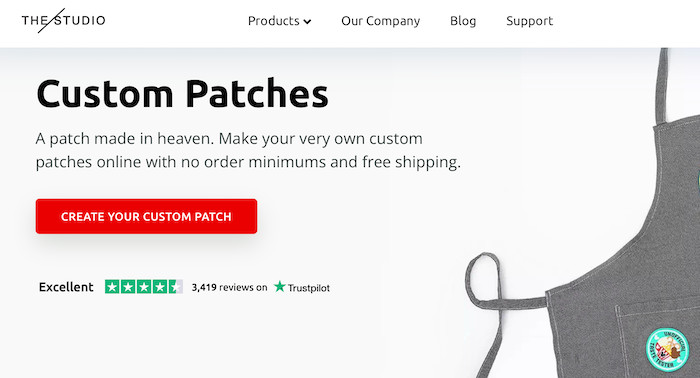
Choose a patch you like which is the right size for your hat. You can either create a patch design or purchase ones from trusted online provider.
For custom patch designs, we recommend The Studio that not only allows you to design your patch using their web tool, but they are also upfront on the cost!
2. Position and secure your patch
Securely position the patch on the hat using pins on the edges (or use tape on the underside). Some measuring might be needed to center the patch on the hole!
3. Mastering hat patch sewing techniques
Thread the sewing machine and set the stitch length. If using a decorative stitch, use a stabilizer on the patch’s back. Sew a straight stitch around the patch’s edge, then a narrow zigzag stitch to secure it. Back stitch at the beginning and end.
4. Trim and secure the thread
Trim any excess thread and knot it on the back of the hat. Remove any remaining excess thread.
Patching a Hat without a Sewing or Embroidery Machine: Easy Methods
Join the 25% of people who use a needle and thread to sew patches onto hats without a sewing machine. This is how you do it!
Gather these supplies: Your Hat, the patch you want, a needle and sturdy thread!
For larger holes, use a fabric filler that closely matches the hat color. If the hole is less noticeable, you can use a contrasting color or a funky pattern.
For iron-on patches, use a hot iron and follow the package instructions on a heat-resistant surface.
Sew the patch onto the hat by threading your needle, knotting the end, and stitching in and out of the fabric.
Secure the patch by knotting the thread inside the hat, and you’re done!
How to Glue Embroidered Patches on Hats?
If sewing isn’t your preference, you can opt for gluing embroidered patches instead. While this method can yield similar results, it’s important to note that the patch may not hold as securely as when sewn on or a combination of sewing and gluing is used.
Ensure the hat surface is clean. Apply fabric adhesive or use a hot glue gun to the patch, then press firmly onto the hat.
Did you know? Approximately 25% of people use iron-on patches to attach onto hats.
Allow the glue to cure before wearing. Failing this step will result in the glue not bonding to the hat’s fabric and patch!
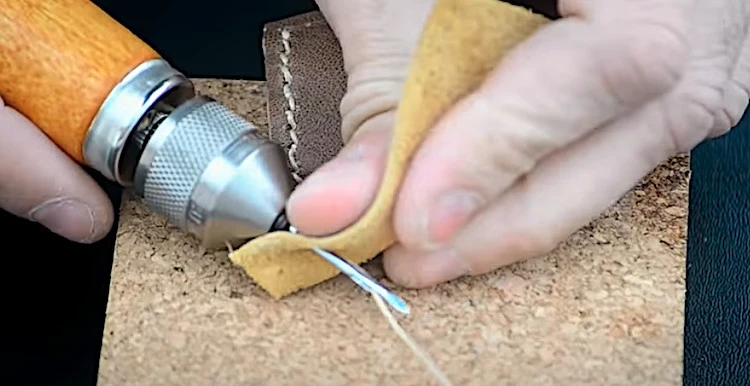
Why Do People Prefer Sewing Over Adhesives When It Comes to Leather Patches on Caps?
When it comes to leather patches on caps, many people prefer sewing over adhesives. There are several reasons for this preference.
Sewing provides a more permanent bond than adhesives. Adhesives are more susceptible to heat and moisture. Sewing also allows for a more customized look, as custom patches can be sewn in different patterns or designs.
Sewing provides a more secure hold of logo patches. This is important when you’re dealing with a thicker material like leather. You also have more control over the placement of the leather patch.
Finally, sewing is generally more durable than adhesives. Meaning that patches are less likely to come off over time. Sewing simply looks more polished and professional.
Watch this video: How To Sew A Leather Patch On A Cap [16 mins 19 secs]
To save time, skip to timeline 03:30!
Sewing vs. Adhesive Attachment: Which Suits Your Hat Patching Needs?
When it comes to adding patches to your favorite hat, you have choices to make: sew the patch on or use adhesives for attachment.
Each method has its own set of pros and cons, and the decision largely depends on your preferences and the specific hat patching needs you have in mind.
🪡 Sewing Patches: The Classic Approach
Pros
Customization: Sewing allows for precise placement & customization. You have control over the stitch pattern and can create unique designs with various thread colors.
Versatility: Sewing works well with different patch types, including fabric, leather, or embroidered patches.
Cons
Skill Required: Sewing requires a level of skill, and if you’re not experienced, it will take practice to achieve a professional look.
Permanent Attachment: While durability is a pro, it can also be a con if you want the option to remove the patch easily.
🧴Adhesive Attachment: The Quick Fix
Pros
No Skill Required: You don’t need sewing skills to attach a patch using adhesives. It’s accessible to beginners.
Removability: Adhesives provide a semi-permanent option, making it easier to change or remove patches as desired.
Cons
Limited to Certain Patches: Adhesives are more suitable for certain types of patches, particularly iron-on patches. They may not work well with heavier or non-iron-on patches.
Potential Residue: Some adhesives can leave residue on the hat or patch if removed, potentially affecting the hat’s appearance.
Summary: How to Get Started with Hat Patching
If you have a hole in your favorite hat, don’t toss it – sew an embroidered patch to a hat!
Custom hat patches are an easy fix that anyone can do. All you need is a needle, thread, and a patch!
Troubleshooting Common But Unexpected Issues
Q1. My thread knots or tangles, what can I do to resolve this?
Ensure the thread is of good quality and well-waxed. Use a thimble to protect your fingers and maintain even tension on the thread as you sew.
Q2. What can I do to prevent puckering or stretching while sewing?
Use a stabilizer or backing material when sewing to prevent fabric distortion. Make sure the hat is properly supported while sewing to maintain even tension.
Q3. How do I prevent visible puncture marks on my patch?
Choose a thread color that matches the hat’s fabric closely to minimize the visibility of needle holes. Use small, discreet stitches and avoid pulling the thread too tightly, which can create larger holes.