Mistakes happen! A single misstep, and suddenly, your masterpiece is marred by ink residue and sticky messes on the platen. It’s a creative hiccup we’ve all encountered. But what if I told you that, much like a skilled artist armed with the right piece of equipment and expert tips, you can avoid these pitfalls?
You’re working on a project with different materials, various types of adhesives, and the pressure to create something extraordinary. In the midst of it all, the platen, the often-overlooked hero of your heat press, might be accumulating residues and hindering your equipment’s efficiency.
In this guide, we’ll unveil the secrets to maintaining your heat press, offering you valuable tips and techniques to protect your artistic vision. It’s not just about keeping your equipment clean; it’s about ensuring your creative process remains free from mistakes and missteps.
So, let’s embark on this journey together, armed with the right piece of knowledge. Our comprehensive heat press temperature guide will empower you to tackle any adhesive, pressure, or equipment challenge that comes our way!
Key Takeaways
A high quality heat pressing will take you a long way. But without regular cleaning you run the risk of scorching clothing. Scorching can occur when there is a buildup of residue, ink, or adhesive on the platen.
In this guide, we discuss cleaning your heat press after accidents and provide step-by-step instructions on keeping it in shape.
When Should You Clean Your Heat Press?
Anyone working with these units has to clean them for them to work optimally. This is especially the case for industry standard heat presses.
Situations, where heat presses can get soiled and therefore need to be cleaned include:
- Starch from clothing builds up on platen.
- Not wiping the heat press after applying cleaners.
- Mistakenly using transfer paper upside down (ink sticks to platen).
- Applying heat too high and melting exposed fabrics (synthetics).
Step-By-Step Cleaning Instructions
Follow these steps to clean your platen effectively and have the following tools and materials at hand.
- Tweezers
- Heatproof hand protection
- Soft cotton cloth
- Non-abrasive cleaner
- Light sandpaper or cleaning solution with grit *
- Abrasive cleaner *
* Only use these tools on non-Teflon platens. Abrasive materials rub off non-stick coatings. This will cause problems with the functionality of the heat press.
1. Remove Transfer Paper & Turn Off
Act quickly! Turn off the heat press and remove the transfer paper if it sticks to the top part of the platen! Long tweezers are the best tool for the job
After turning off the press, leave it to cool a little until drops to a warm temperature. A little heat makes it easier to remove the ink, but still wear heat-proof hand protection.
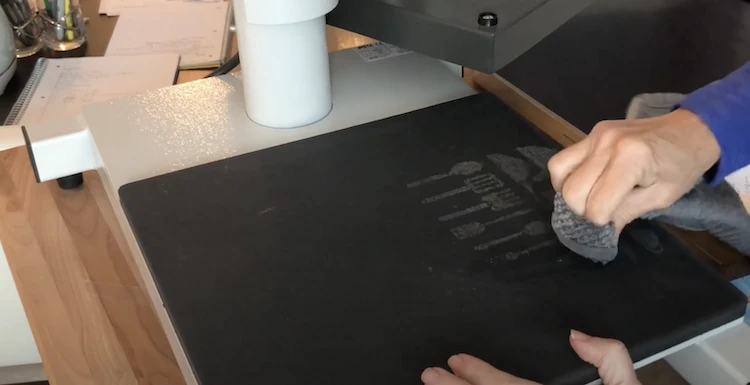
2. Use EZ Off Platen Cleaner
Excellent for maintaining the cleanliness of your iron surfaces! This product effectively eliminates starch, scorch marks, soil, and foreign residues from all hot metal ironing surfaces.
Designed for use with a hot head mitt, it’s non-flammable and safe for metals, fabric, and skin. Each pack Ez-Off platen cleaner contains one tube (5 ¼ oz) of this product, proudly made in the USA
3. Chemical Agents for Sticky Residues
When dealing with stubborn residues and sticky messes on various items and surfaces, consider using Goo Gone or chemical solutions like household materials that are readily available, such as bleach, alcohol, or acetone.
- Saturate a lint-free cloth with the chosen chemical.
- Employ small but firm strokes to scrub the affected areas.
- Repeat the process as needed.
- If the residue proves resilient, proceed to step 4 below.
4. Bake Away Residue
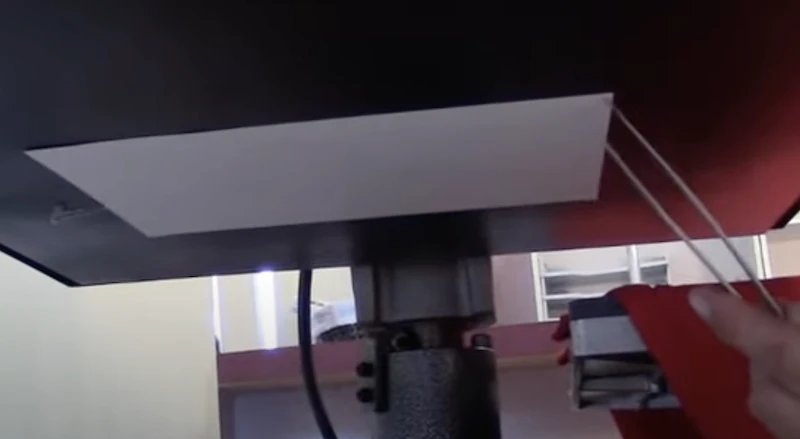
If previous methods don’t address the mistake of persistent ink residue or an excessive amount of unwanted matter on your heat press, here’s a technique to try. Set your heat press to its highest temperature, a step that can salvage almost anything, from ink stains to unwanted residues.
To further expedite the process, you can utilize a sheet of paper to absorb the softened residue, leaving your platen pristine. This might take several attempts before removing all foreign bodies.
Cautionary Tests After Cleaning
Prior to commencing a print job, it is advisable to perform a test run using spare fabric to inspect the platen for any residual debris or contaminants left on the surface, especially after a thorough post-cleaning routine.

This precautionary step not only guarantees a pristine and uncontaminated working surface but also helps preempt any potential issues that may arise during the actual printing process.
5 Other Reasons Why Cleaning Your Platen Is Important!
Here’s what can happen if you fail to clean your heat press:
- Decreased efficiency: Dirt, debris, and residue on the heating element and platen will reduce heat transfer efficiency. This leads to uneven heating and longer pressing times.
- Malfunctions: Dirt and debris will interfere with the moving parts of the machine. This causes them to stick and wear down faster.
- Poor print quality: Dirt, debris, and residue can get transferred onto the print.
- Health hazards: Dirty heat presses can be a breeding ground for bacteria, mold, and other harmful organisms.
- Reduced lifespan: Neglecting regular cleaning and maintenance can lead to premature malfunctions, and permanent damage.
Watch this video: Cleaning A Heat Press [06 mins 08 secs]
Summary To Platen Care for Press Success
As we’ve explored in this comprehensive guide, maintaining a spotless platen is paramount for achieving optimal performance and ensuring the longevity of your heat press.
Adhering to these cleaning techniques will not only preserve the quality of your designs but also extend the life of your trusted press.
Remember, every press counts, and every print matters. So, don’t let residue, ink, or debris compromise your creativity. A clean heat press is more than just a machine; it’s a canvas for your artistic vision!
✂– – – – – – – – – – – – – – – – – – – – – – – –